Discover Crucial Tips for Gadget Repair: Professional Insights on Screen Repair Work and Motherboard Repair Work
When your gadget begins acting up, it can be aggravating. You'll need the right devices and strategies to manage these repair services effectively. Let's explore the basics that will certainly prepare you for your following repair difficulty.
Understanding Usual Device Concerns
Gadgets can be a source of aggravation when they malfunction, yet recognizing common issues can conserve you time and cash. If your gadget won't power on, verify the battery's charged or replace it if required.
Getting too hot is another typical problem; validate your gadget isn't obstructed by dirt or particles, which can prevent airflow. Comprehending these basic problems can aid you fix successfully and avoid unneeded fixings or expenses down the line.
Essential Tools for Gadget Repair
When you prepare to take on device fixings, having the right devices is important. You'll require must-have repair work tools, safety and security devices fundamentals, and some specialized instruments to get the job done. Let's explore what you should have in your toolkit for an effective repair service experience.
Must-Have Fixing Tools
Having the right devices is important for successful gadget repair work. Do not forget a suction cup for screen repairs, allowing you to lift screens conveniently. With these must-have tools, you'll be well-appointed to tackle any kind of gadget repair work obstacle.
Safety Tools Basics
Safety and security is critical in gizmo repair service, and having the appropriate safety and security equipment can prevent crashes and injuries. Start with shatterproof glass to secure your eyes from tiny debris or glass fragments. A good set of gloves, ideally anti-static, will secure your hands from sharp edges and decrease the risk of electrostatic discharge. Think about using a dust mask to stay clear of inhaling unsafe particles, especially when functioning with older devices. An ESD wrist strap is crucial for grounding on your own to avoid static damages to delicate parts. Lastly, maintain a first-aid package close by for any type of unanticipated accidents. By equipping yourself with these basics, you'll create a safer office and enhance your general repair experience.
Specialized Gadget Instruments
Step-by-Step Overview to Screen Fixing
Fixing a split or shattered display can appear intimidating, however with a couple of devices and some perseverance, you can do it on your own. Collect your products: a replacement display, a heat gun or hairdryer, and accuracy tools like screwdrivers and plastic spying devices.
Beginning by powering off your gadget and getting rid of any safety instances. Utilize the heat gun to soften the adhesive around the screen - MacBook screen and Motherboard repairs in South Africa. Thoroughly tear the screen away from the gadget, taking your time to prevent harmful internal elements
As soon as the old screen is eliminated, tidy the location and use the brand-new display, guaranteeing it aligns correctly. Press securely to secure it in position, after that reconstruct your device.
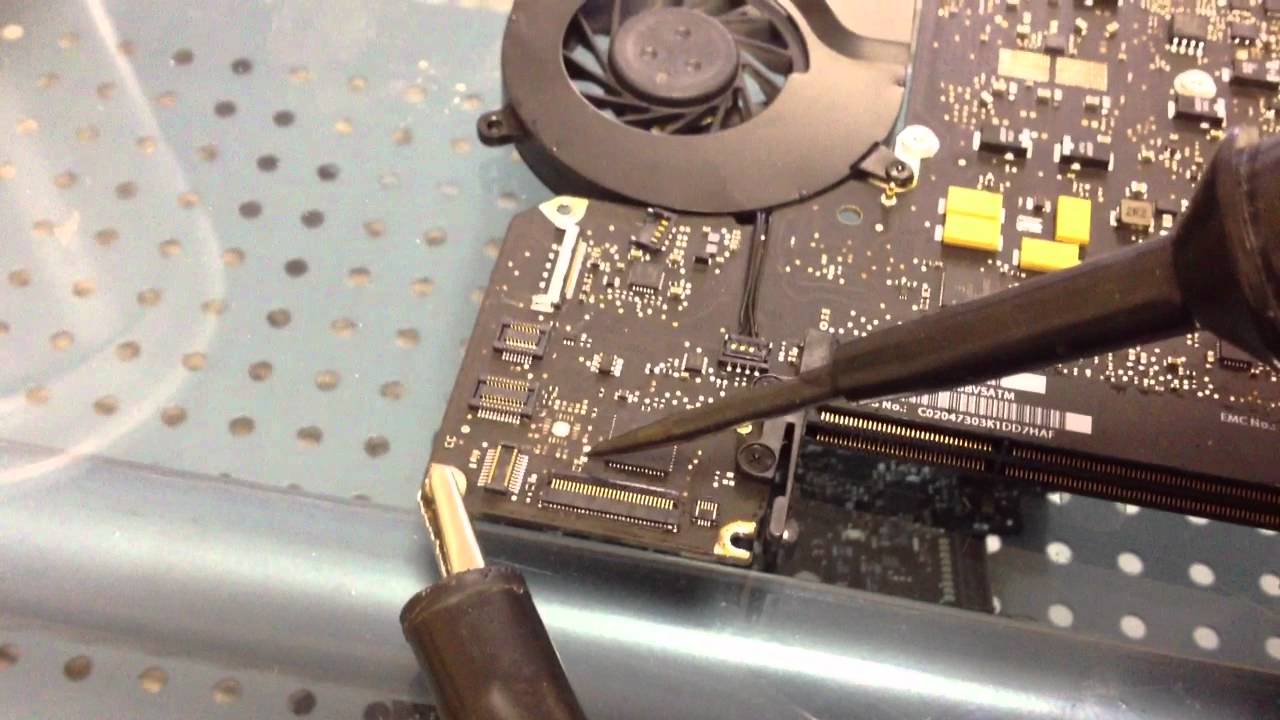
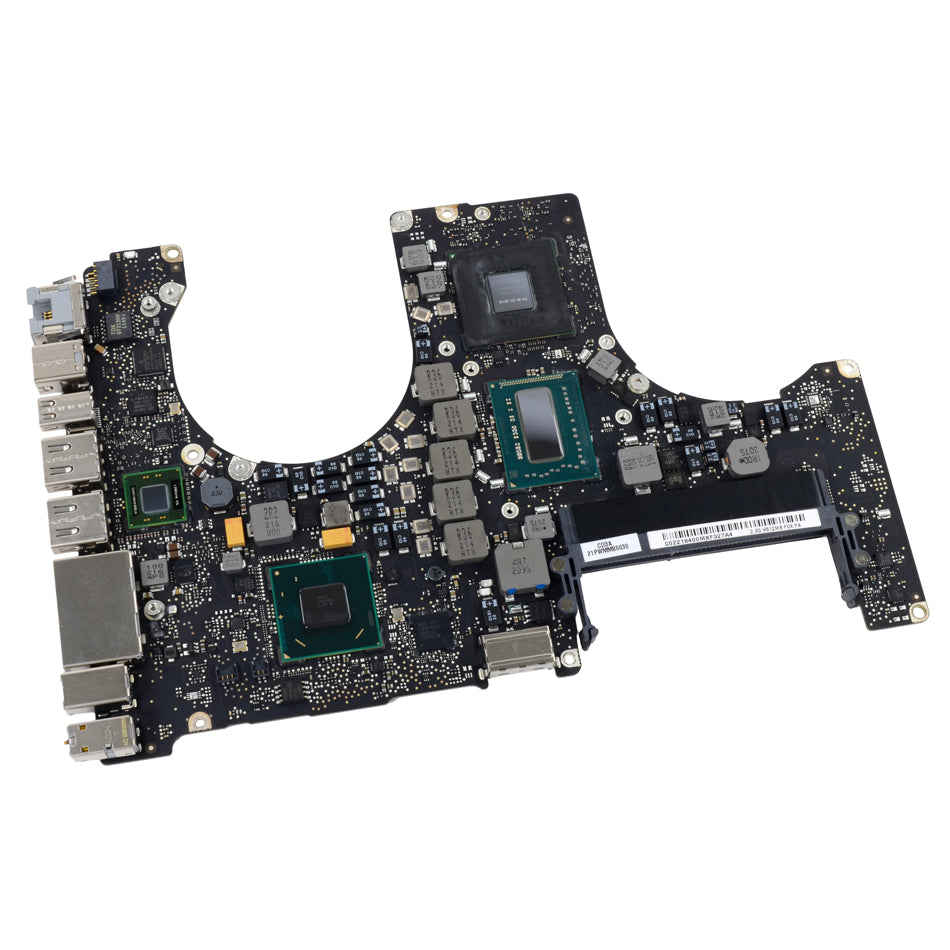
Identifying Motherboard Issues
When your gadget starts breaking down, the motherboard could be the wrongdoer. You'll wish to seek common signs like unexpected closures or failing too. By examining the elements successfully, you can identify the problem and choose the following steps.
Common Signs Recognized
How can you tell if your motherboard is the offender behind your device's issues? Begin by observing your gadget's actions. If your screen presents artifacts or stops working to reveal anything at all, the motherboard could be failing.
Evaluating Parts Properly
Evaluating parts effectively is important for diagnosing motherboard problems. If you have access to a thermal camera, use it to recognize getting too hot elements. If the motherboard still does not function, think about making use of a Message card to check mistake codes.
Safe Practices for DIY Fixes
Safety and security ought to always be your top concern when dealing with DIY device fixings. Begin by unplugging your tool and eliminating batteries imp source to stop any kind of electric risks. Use security goggles and gloves to secure yourself from sharp edges and tiny components. A clean, arranged workspace is crucial; it assists you stay clear of shedding parts and reduces the danger of mishaps.
Utilize the right tools for each job; do not require a device if it does not fit. Ground yourself to prevent fixed power from damaging sensitive components-- use an anti-static wrist band if you have one. Familiarize yourself with the gizmo's handbook prior to diving in; recognizing the design and assembly can conserve you time and stress.
Lastly, take breaks to clear your mind and stay clear of tiredness. Rushing can lead to errors that could harm your gadget or cause injury. Constantly prioritize security to assure an effective fixing experience.
When to Look For Expert Help
While several device repairs can be taken care of at home, there are times when it's ideal to contact a professional. If you discover yourself dealing with a cracked screen that seems beyond a basic solution, or if your tool will not power on regardless of your initiatives, do not be reluctant to look for expert help. Complex issues like motherboard damages typically need specific devices and knowledge that you may not have.
In addition, if your gadget is still under guarantee, attempting a DIY repair could invalidate that protection. If you're uncertain regarding your repair work skills or if you really feel overwhelmed, it's important to consult a professional. They can diagnose the trouble properly and give a remedy that saves you money and time in the lengthy run. Always remember, understanding when to tip back can be simply as important as understanding exactly how to repair.
Preventative Procedures to Extend Gizmo Life-span
To assure your gizmos last as long as possible, embracing preventive measures is vital. Maintain your gadgets tidy.
Be conscious of battery health-- prevent allowing it drainpipe completely or overcharging. Rather, charge your tools when they struck about 20%.
Don't multitask exceedingly or run too numerous apps concurrently; this can strain your tool. By following these pointers, you'll significantly boost your gizmos' durability and efficiency, saving you time and cash on repairs.
Regularly Asked Concerns
Can I Repair My Device Without Any Prior Experience?
You can fix your gizmo without previous experience, but it'll take perseverance and some study. Beginning with straightforward fixes, enjoy tutorials, and collect the right tools. You'll discover and boost my company with practice.
Just How Much Does Professional Repair Service Generally Cost?
Expert fixing expenses differ extensively, typically ranging from $50 to $300, relying on the gadget and the concern. You need to always get a quote prior to proceeding, ensuring you understand the expenditures involved.
What Guarantees Cover DIY Repair Works on Gadgets?
The majority of suppliers' warranties don't cover do it yourself repair services, but some offer restricted protection for components if you follow their standards. Always examine the guarantee terms before beginning any type of fixing to avoid nullifying your protection.
Exist Details Brands Easier to Fixing Than Others?
Absolutely, some brands are less this link complicated to repair than others. As an example, companies like iFixit frequently supply in-depth overviews, while brands like Apple can be more difficult because of proprietary components and minimal documentation.
How Can I Recycle Old Gizmos Sensibly After Repair?
After you repair your old gizmos, take into consideration contributing them to regional charities, recycling through accredited e-waste programs, or offering parts online. Constantly assure they're taken care of sensibly to reduce ecological effect and advertise sustainability.